


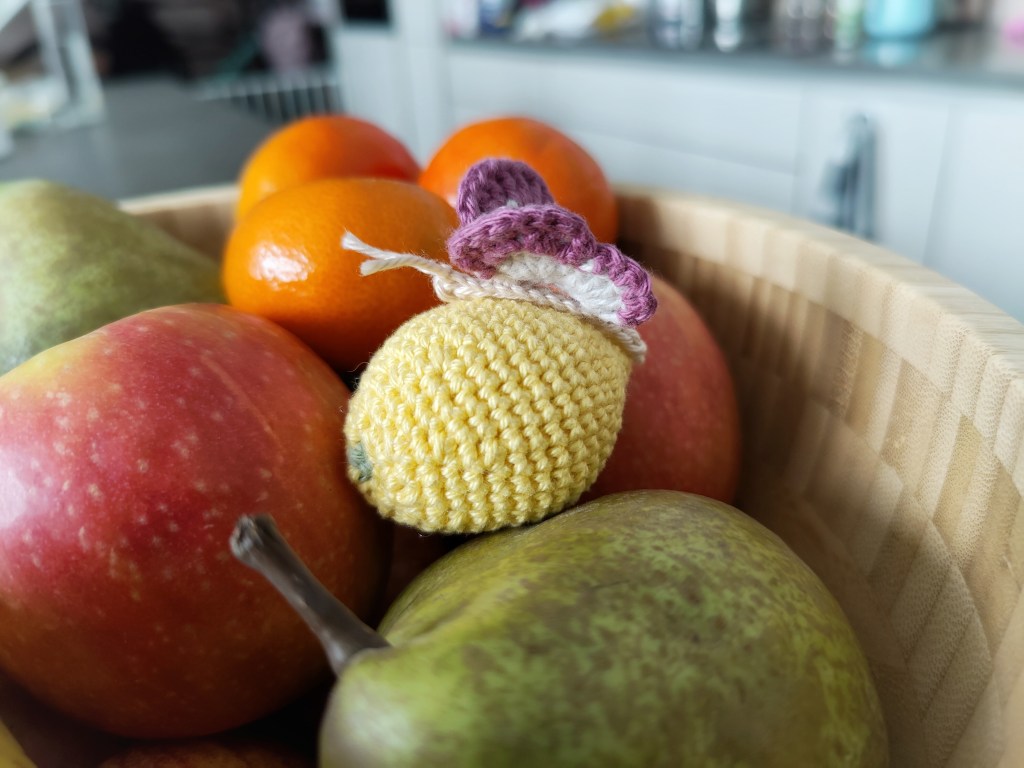
“Oh, what is my sunshine doing down there?!”, these were Lily’s, our Crochet Butterfly, thoughts when it saw the deliciously-looking Crochet Lemon. It landed eagerly on the lemon and lingered happily on its piece of sunshine for the rest of the day.
The 3 cm long crochet butterfly is worked in 3 rows of single, double and treble crochet (for each wing) and is therefore one of the smallest butterflies you can possibly make with a color combination. Its stitch design on the wings is simple but dense, and it can be made more eye-catching with different colours between the wings’ parts. With two colour combinations, like in this version, you can easily integrate the colour shifts between the wings to keep the yarn ends to a minimum (you’ll end up with 4 yarn ends in total to weave in).
The appr. 5 cm sized crochet lemon is done very straight-forwardly in increase resp. decrease rounds with a bright yellow yarn, some green yarn rest and fiberfill. The crochet lemon is part of the crochet fruits selection from a previous post and available here as a separate and free pdf download, while the pattern below is for the crochet butterfly only.
Your small butterfly on a fruity-looking crochet lemon makes for the perfect crochet spring deco!
If you want to make this fresh-looking Crochet Lemon and this Crochet Butterfly Beauty just scroll down for the free crochet pattern below.


I hope you enjoy the pattern(s), happy crocheting!
What do you need:
- super fine yarn at a recommended hook size of 2.5-3.5 mm (in yellow and green for the crochet lemon and in beige, light-grey, dark-pink for the crochet butterfly)
- scissors
- fiberfill (for the crochet lemon)
- darning needle
How to read the instructions:
The instructions are written in US Crochet Terminology.
Abbreviations: sc = single crochet | hdc = half-double crochet | dc = double crochet | tc = treble/triple crochet | sl st = slip stitch | st, sts = stitch, stitches | ch = chain
| turning ch | at the end of each row, we ch 1 and turn our work to continue with the next row. The ch 1 before turning the work is also referred to as the “turning ch” and we will always skip this ch st when we crochet in the next row. So, the turning ch st is not worked on! |
| [lorem ipsum] | text marked in [squared brackets] describes the number of stitches to crochet in 1 st; e.g. ‘[3 tc, 1 dc] in the next st’ means that you work 3 treble crochet and 1 double crochet in the next one st (you increase the st count by 3 sts through this step) |
| lorem ipsum | text marked in italic format is meant as a comment that should explain a previous step in more detail |
| k sc x t | we work k number of sc sts in the next t sts; e.g. [1 sc, ch 1] x 3 means that you work 1 sc in the next st, then ch 1, and you repeat this for the next 2 sts (you increase the row count by 3 ch sts) |
I worked both, the crochet lemon and the crochet butterfly, in continuous rounds.
Navigate to your Free Crochet Pattern
Crochet Lemon
Download the free pattern for the crochet lemon through the download button below or see the original post for the crochet lemon (and for many more fruits) here.
Crochet Butterfly
We work the crochet butterfly in two parts: we start with the first part that consists of the wings; the second part starts from the first part and consists of the body. For the wings, we start with the left side (l.s.) (crocheted in rows) and, as we finish the left side, we continue with the right side (r.s.) of the butterfly. The crochet progress is illustrated step-by-step.
We start the first part (WINGS) from the inside and work outwards. For the crochet butterfly in the pictures, start with the light-grey yarn.
WINGS
Ch 6 (5 + 1 turning ch st). Let us call this the ‘ground ch’ as we will stitch back to this part a couple of times. Keep a lot (!) of yarn end from the beginning as we will later use this yarn end to crochet the right wings (r.s.) of the butterfly.

1. Row (l.s.): [1 sc, ch 2, skip the next ground ch st] x 2, 1 sc in the last ground ch st (by the ‘ch 2’ sts we create “holes” in the row that we crochet through in the next row).
Ch 1 + turn your work.


2. Row (l.s.): 1 sl st, 4 dc in the 1st hole created by the previous 2 ch sts (we go underneath the 2 ch sts when doing the dc, instead of stitching in one of the 2 ch sts; hence, we cover the 2 ch sts completely by the 4 dc), 1 sl st in the next sc st, [3 tc, 1 dc] in the 2nd hole created by the 2 ch sts, 1 sl st in last sc st.
Ch 1 (change colour to dark-pink while chaining 1) + turn your work.
Important: do not cut the light-grey yarn as we will later continue with this yarn end to do the other wings’ side.


3. Row (l.s.): 1 sl st in the first sl st, [2 dc between the dc + 1st tc post (we crochet in-between the stitches instead of stitching in the underlying st, similar to stitching through the 2-ch-sts-holes from Row 2), ch 1], [2 dc between the 1st + 2nd tc post, ch 1], [2 dc between the 2nd + 3rd tc post, ch 1], 1 hdc between the 3rd tc and sl st, 1 sl st in the last sl st,
(next wing part:) [1 sc, ch 1] x 3, 1 sc in next st, 1 sl st in last st.
Ch 2 and close the wing form back to the ground ch by crocheting 1 sl st into the underlying ground ch of the last st (= last ground ch st).
Ch 1 while changing the colour back to light-grey. Thereby, take the light-grey yarn end from the 2. Row and do not cut the dark-pink yarn that we will use for the r.s.!


We continue with the light-grey yarn to work the right wings (r.s.) of the butterfly (do not turn your work but continue crocheting back again on the ground ch):
1. Row (r.s.): [1 sc, ch 2, skip next ground ch st] x 2, 1 sc in last ground ch st.
Ch 1 + turn your work.


2. Row (r.s): 1 sl st in first sc st, [3 tc, 1 dc] in 1st hole created by the previous 2 ch sts, 1 sl st in next sc st, [4 dc] in 2nd hole, 1 sl st in last st (change colour to dark-pink in the sl st while taking the dark-pink yarn from the 3. Row of the l.s.).
Ch 1 + turn your work


3. Row (r.s.): 1 sl st, ch 1, [1 sc in next st, ch 1] x 3, 1 sc in next st, 1 sl st in next sl st,
(next wing part:) 1 hdc in next st, [ch 1, 2 dc between the dc + 1st tc post], [ch 1, 2 dc between the 1st + 2nd tc post], [ch 1, 2 dc between the 2nd + 3rd tc post], 1 hdc between the 3rd tc post and the sl st, 1 sl st in last st.


Weave in all the yarn ends.


You have finished with the WINGS of the butterfly. Now, we want to do the BODY of the butterfly.
BODY
Thereby, take a beige yarn and work 1 sc in the 1st ground ch st (which lies between the large wings) of the back of the crochet butterfly. You recognize the back of the butterfly by the denser look of the dark-pink double crochet stitches in the large wings’ part.
Ch 11. Then, wrap the chain between the wings across the front of the butterfly (in the direction from the large wings to the small wings), from in-between the small wings, through the back, to the beige sc from the start. Do 1 sl st in this first sc st (=’connection sl st’).
Ch 4 (=the head) + turn your work.
Work 1 sl st in each of the first 3 ch sts (skip the turning ch st), then do 1 sl st in the ‘connection sl st’. Continue crocheting 1 sl st in each of the next 6 ch sts and skip the remaining ch sts. Now, ch 3 (= the tail), make a knot at the end of the ch 3 and cut the yarn end very closely to the knot.
The ‘thick’ chain part is the back of the butterfly and the ‘thin’ chain part is the front.
For the antenna, take a short piece of beige yarn and draw it through the 2nd ch st from the front of the butterfly. Fasten both yarn ends with a knot close to the chain and cut the ends, leaving a rest of 1.5 cm.
You have now finished with the BODY of the butterfly.


With a new beige yarn you can attach the butterfly to the crochet lemon. You have now finished your crochet butterfly on a lemon!
I hope you enjoy your beautiful crochet butterfly on the deliciously-looking crochet lemon!