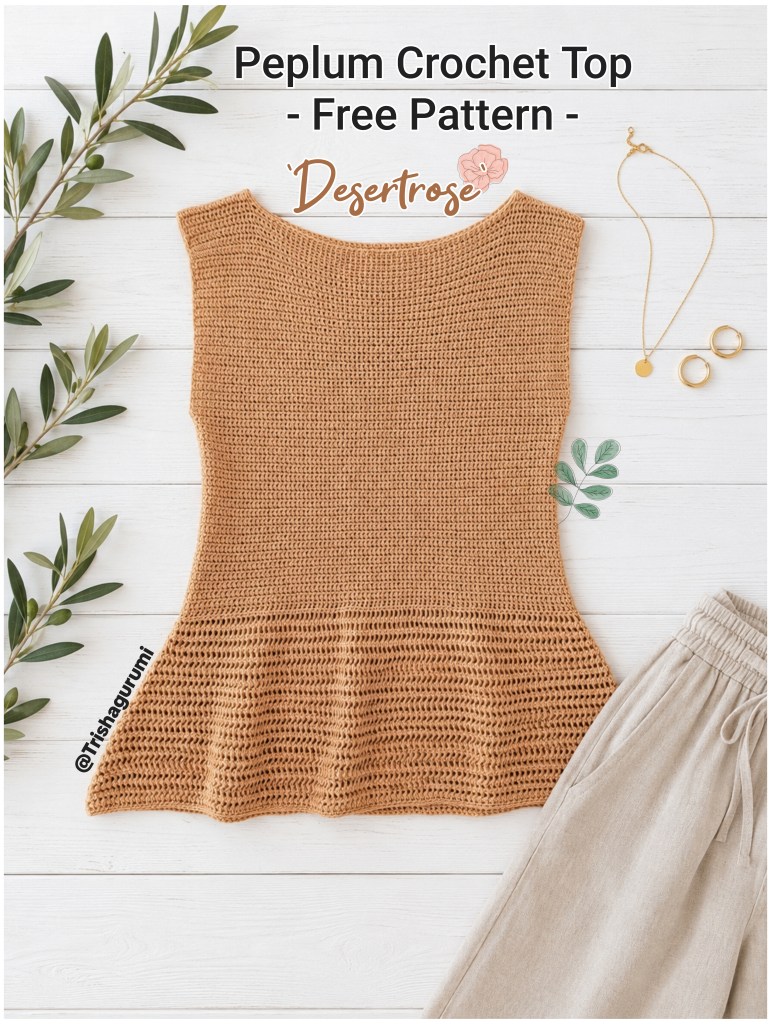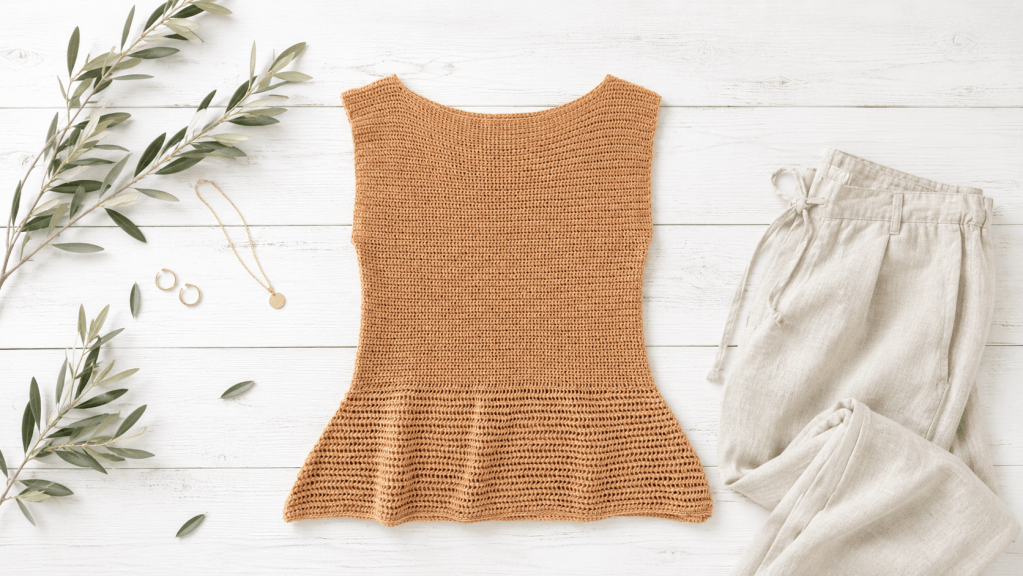
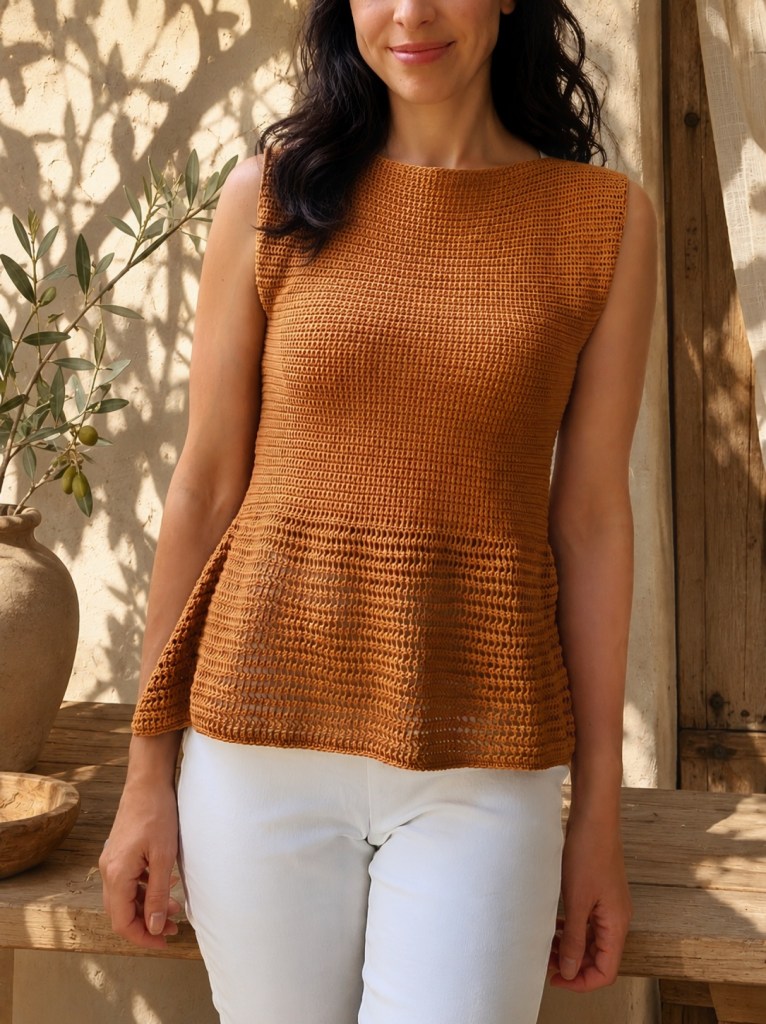
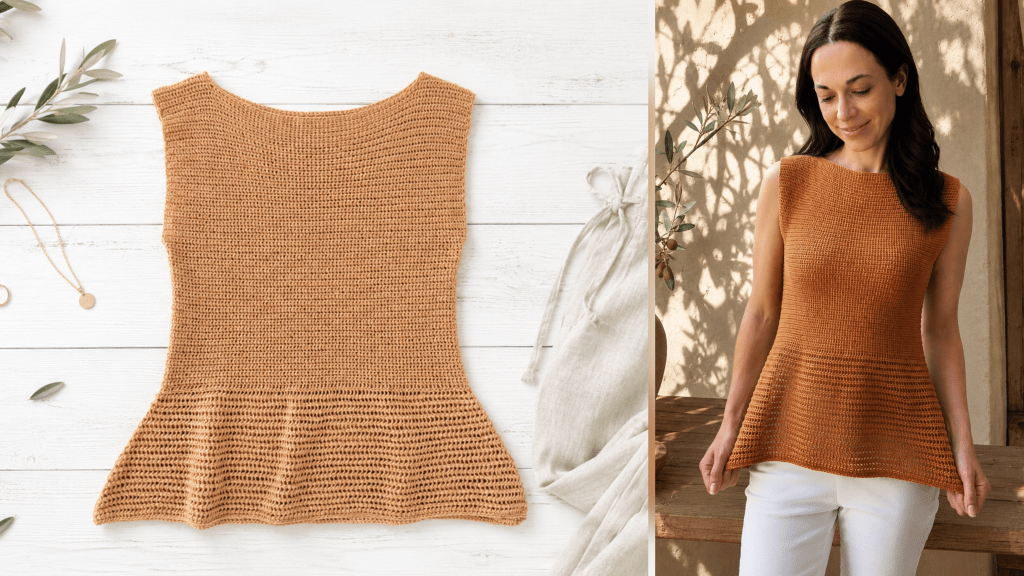
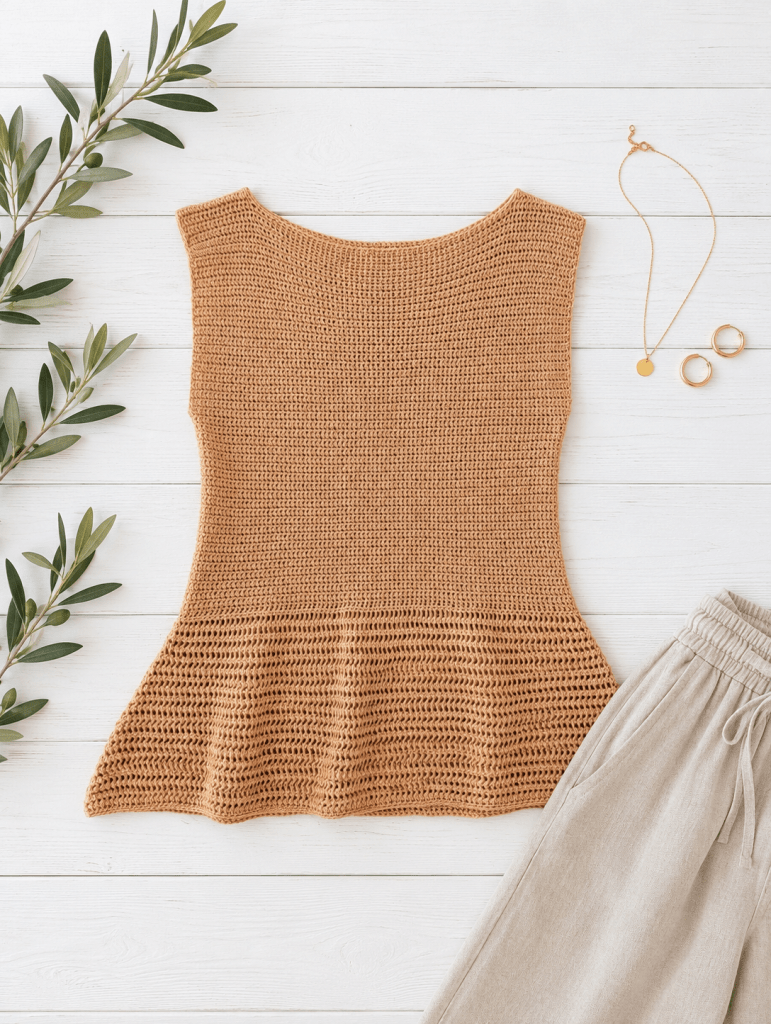
Timeless with a touch of oriental elegance, the “Desert Rose” Crochet Peplum Top combines a simple, figure-flattering upper section worked in single crochet with a softly draping peplum featuring a decorative half-double crochet cluster pattern. You’ll find the complete step-by-step pattern further down in this post.
The mercerized and gassed cotton yarn Woll Butt Sonja by Buttinette gives the top a comfortable amount of stretch while allowing it to hug the body beautifully. If you need a little more room around the bust, simply add small triangular gussets under the arms and sew in a side zipper. This makes it easy to customize the fit to your body.
Thanks to the use of basic stitches and easy-to-repeat pattern sections, this design is also suitable for beginners. The choice of yarn, however, is important, as single crochet fabric is naturally much less stretchy than stitches such as double crochet. Before you begin, it’s a good idea to make a gauge swatch with your chosen yarn and check that it has a little give both widthwise and lengthwise.
Top Features:
- Sleeveless design
- Wide shoulder straps
- Soft scoop neckline
- Solid, figure-flattering bodice
- Airy peplum with a decorative cluster pattern
Since I crocheted most of this top while I was on the go, I wasn’t able to take any work-in-progress photos this time. I hope the step-by-step instructions are still clear and easy to follow, guiding you through the project with confidence.
Happy crocheting!
Materials
- Sports/Fine (Cat. 2) weight yarn in caramel, such as Woll Butt Sonja (100% cotton)
- Yarn required: approximately 900 m (984 yds) for size S/M, or just over 5 skeins.
- Gauge: 27 sts × 38 rows = 10 × 10 cm (4 × 4 in).
- 3.0 mm crochet hook
- Scissors
- Tapestry needle for weaving in ends
Size
Size: S (M/L). Instructions for the larger size are given in parentheses.
Abbreviations
sc = single crochethdc = half-double crochetst(s) = stitch(es)sl st = slip stitch(es)ch = chain(s)dec = decreasehdc2tog = work 2 stitches together in a Yarn-Over Slip Stitch decreaseFLO = front loop onlyBLO = back loop onlyrnd(s) = round(s)row(s) = row(s)
Stitch Chart
The crochet peplum top is worked according to the stitch chart shown below. A detailed stitch chart explanation can be found beneath the chart.
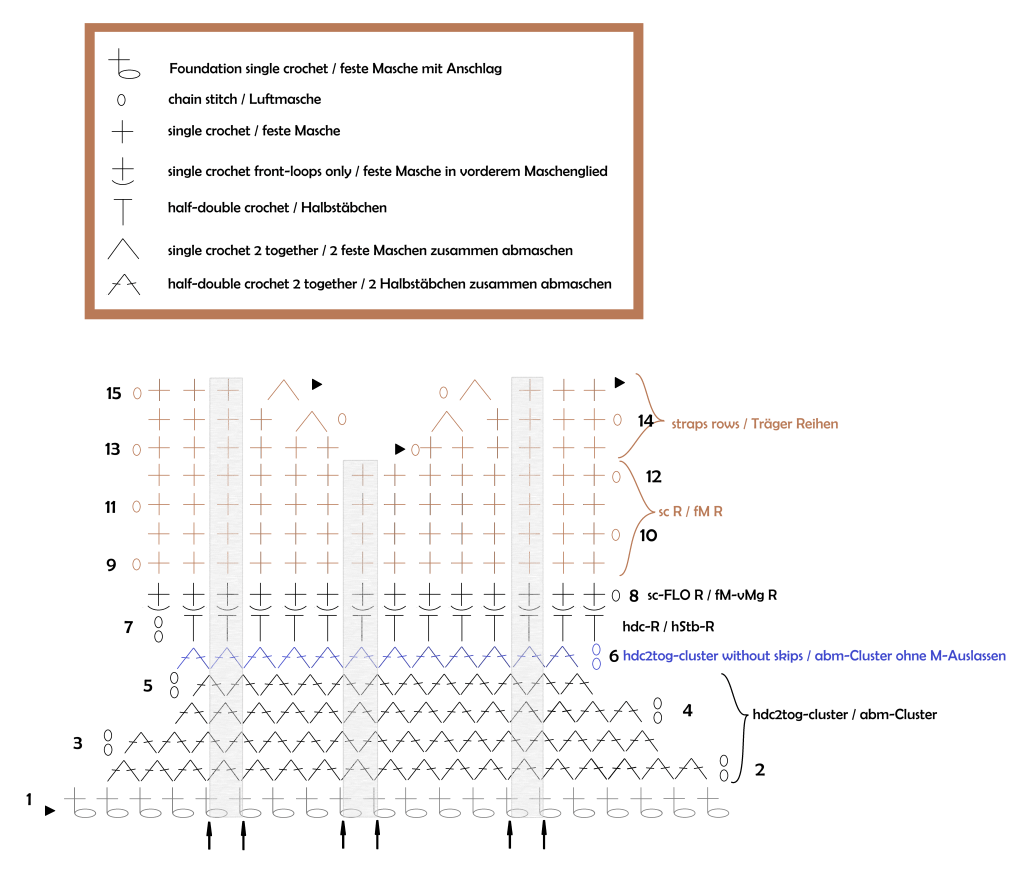
- The stitch chart is worked in rows. The chart shows both right-side and wrong-side rows.
- Whenever multiple stitches meet at the bottom of the chart, they are all worked into the same stitch.
- The stitches between the arrows form the repeat and should be repeated across the row.
- Begin with foundation single crochet (FSC).
- In Rows 2–5, work the half double crochet decrease clusters as shown in the chart. For each decrease cluster, insert the hook twice into the stitches of the previous row as indicated. In every row, skip the last stitch of the previous row and the turning chain from the previous row (2 skipped stitches total). Work 2 turning chains at the end of each row.
- In Row 6, the final decrease-cluster row, work into every decrease cluster from the previous row without skipping any clusters. For the last decrease cluster, work into the last stitch of the previous row and then into the second chain of the turning chain. Ch 2 and turn.
- In Row 7, which transitions to the solid upper section, work 1 half double crochet into each decrease cluster and 1 half double crochet into the second chain of the turning chain. Finish the row with ch 1 and turn.
- The first row of the solid upper section is worked in single crochet, inserting the hook into the front loop only (FLO) of each stitch. Ch 1 and turn.
- In Rows 9–12, work single crochet throughout. Finish each row with ch 1 and turn. The shoulder straps are then worked in single crochet as well.
Pattern
The top consists of two identical pieces (front and back panel), both worked from the bottom up.
Once completed, the panels are joined at the shoulder straps and side seams.
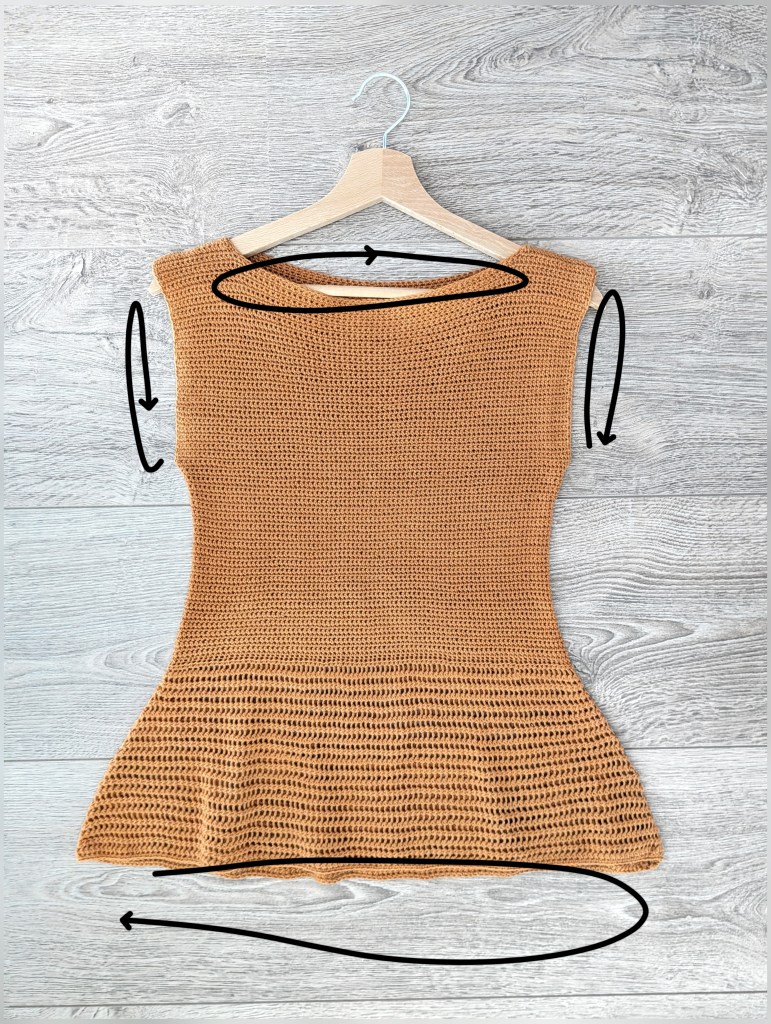
Finally, the neckline, armholes, and peplum hem are finished with one round of single crochets.
Front Panel / Back Panel
Begin with 120 (130/140) foundation single crochet (FSC). This creates the foundation chain and the first row of single crochet at the same time, resulting in a more elastic edge. Ch 2 and turn.
First, work the peplum from the bottom up to the waist.
Following the chart, repeat Rows 2–5 until the peplum measures approximately 15 cm (6″), or 18 rows. In each row, 2 stitches (1 cluster and the turning stitch) are skipped.
Next, work Row 6 (decrease cluster without skipping stitches) once, followed by Row 7 (half double crochet) once. You should now have 82 (92/102) stitches.
The peplum is now complete, and you will continue with the solid upper section.
Work 1 row of single crochet into the front loop of each stitch across. Ch 1 and turn.
Work Rows 9–12 once. Then repeat Rows 11 and 12 until the upper section measures approximately 33 cm (13″), or 86 rows.
Shoulder Straps
Begin with the right shoulder strap.
Strap Row 1: Sc in the next 18 sts, ch 1, turn. (18)
Strap Row 2: Sc2tog, sc in the next 16 sts, ch 1, turn. (17)
Strap Row 3: Sc in the next 15 sts, sc2tog. Fasten off and weave in the yarn end.
Join a new strand of yarn 18 stitches in from the left edge and ch 1 to begin the left shoulder strap.
Strap Row 1: Sc in the next 18 sts, ch 1, turn. (18)
Strap Row 2: Sc in the next 16 sts, sc2tog, ch 1, turn. (17)
Strap Row 3: Sc2tog, sc in the next 15 sts. Pull the yarn through the final loop, leaving a 30 cm (12″) yarn tail. This tail will later be used to join the shoulder straps.
The back panel is now complete.
Repeat the same instructions for the front panel.
Joining the Pieces
Place the front and back panels with the right sides facing each other.
Using the long yarn end, join the 16 shoulder stitches by working slip stitches through both layers.
To join the sides, attach a new strand of yarn. Insert your hook through the first row of both panels at the same time and work single crochet through both layers. Continue from the bottom edge upward for a total of 31.5 cm (12.4″), or until you are approximately 17.5 (18.5/20) cm (6.9 (7.3/7.9″)) below the shoulder straps.
The finished armhole measures approximately 17.5 (18.5/20) cm (6.9 (7.3/7.9″)) in length.
Finishing the Edges
Using a new strand of yarn, work 1 round of single crochet around
- the neckline,
- both armholes, and
- the peplum hem.
Fasten off and weave in all yarn ends.
Blocking
Blocking softens the yarn, evens out the stitches, and gives the top a more beautiful drape.
Soak the finished top in lukewarm water, then gently press out the excess water using a towel—do not wring it out. Lay the damp top on a soft surface, such as a blocking mat or towel, shape it to the desired dimensions, and carefully straighten the edges and straps. If needed, secure it with pins and allow it to air dry completely.
Depending on the yarn used, steam from an iron can help relax the fibers even further. Hold the iron a few inches (5–10 cm) above the damp top and let the steam penetrate the fabric. Do not place the iron directly on the top.
Congratulations! Your peplum crochet top is ready to wear!